Thursday, August 23, 2018

Plantings at Station

Checked on the ground goop from granddaughter's visit and just had to add some vegetation around the train station!

Started with a mix of fine turf from some earlier work.  Painted some half-and-half white glue in an area around the station and across the track leaving room for car parking, bus, and REA Express truck. . . maybe.  Found the fan I was using for cooling was blowing the turf all over the place so turned the fan off and found some turf that may not have been glued down too well.

That led to using an ear syringe bulb to add some half-and-half, but got way too much.  So, pulled out the 2mm static grass and the homemade static applicator.  Figured this could be a planting area and the rest could be the grassy lawn.

Used some commercial flower hedge and a few commercial flower bunches in the area.  Then went to another of the spindly trees.  Wrapped the tree with florist tape a la Farm Pond about VI.  Then painted some "Fawn" acrylic to soften the brown tape and camouflage the gray wires.  Sprayed the tree with strong hold hair spray and dusted on some coarse turf.  Sprayed again and dusted on some earth tone blended turf.  Not sure that helped a lot, but it felt better.

Poked a hole with a scratch awl and glued the tree in place with white glue, full strength.

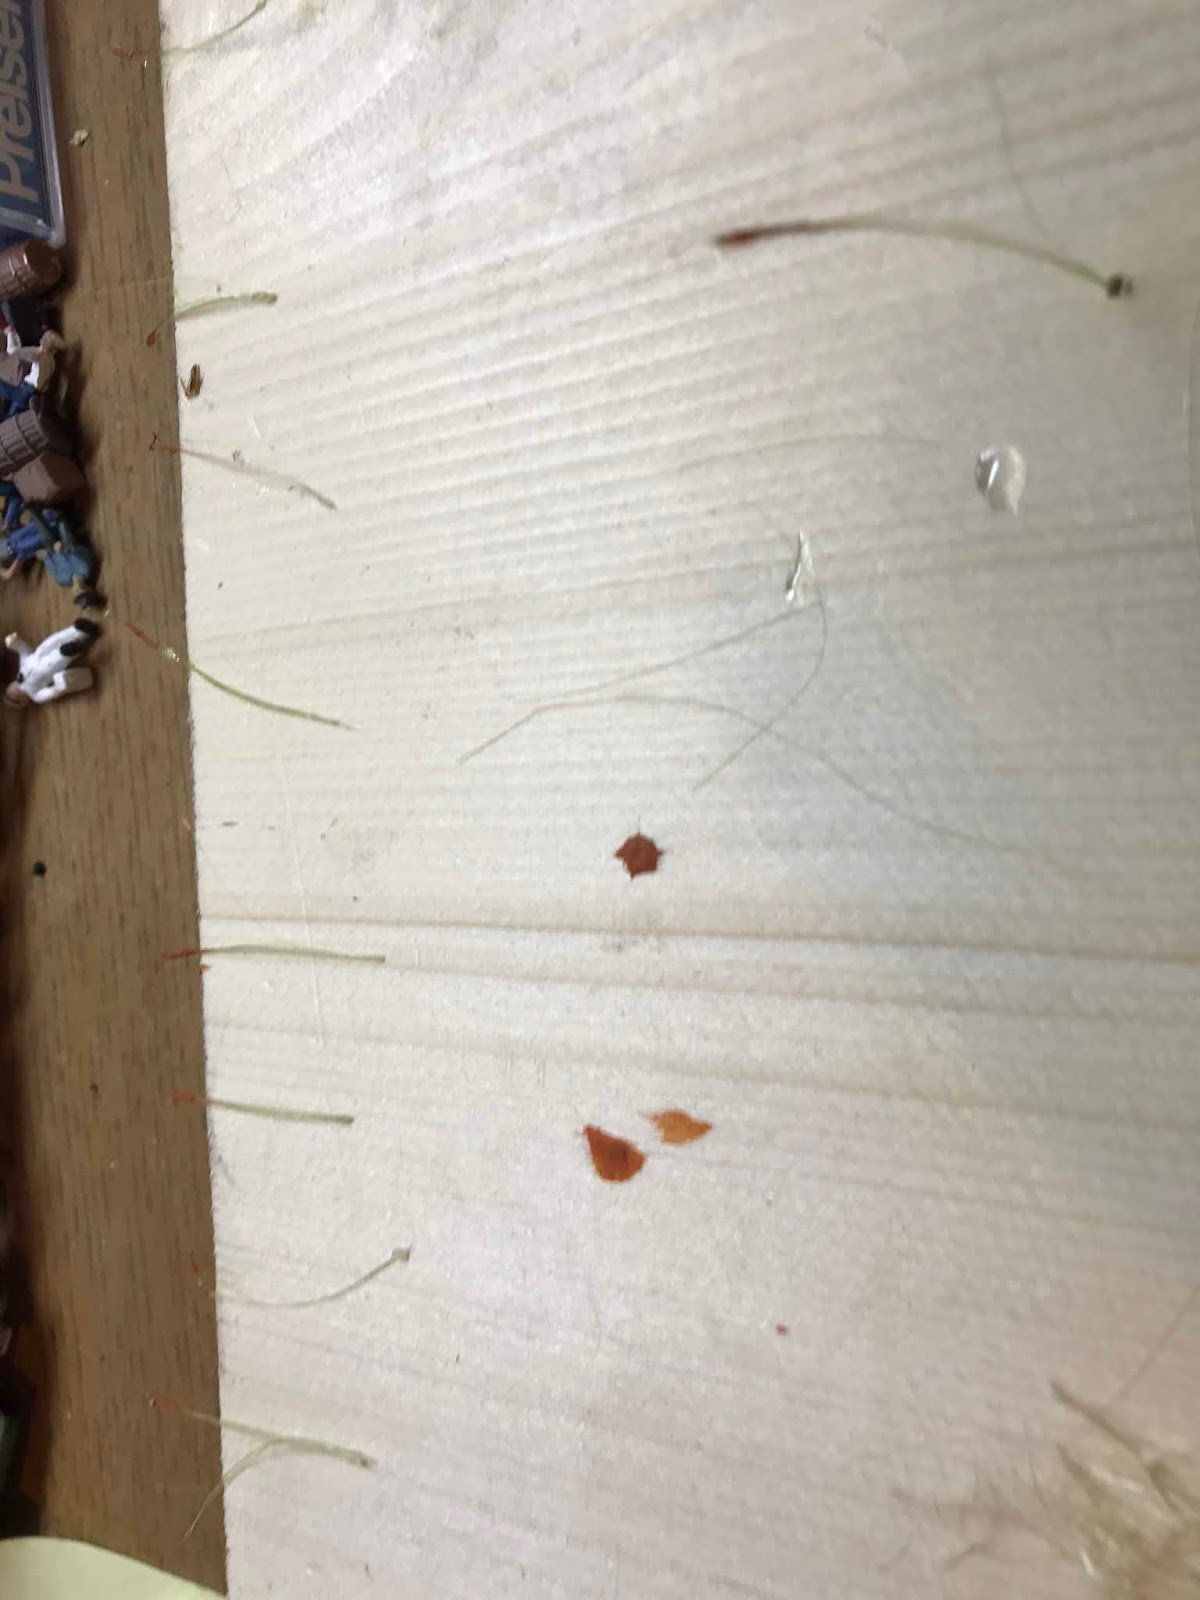
Photos along the way:


Before and after:


Another view:

Wednesday, August 22, 2018

More Ground Goop

Without the participation from a couple of granddaughters -- and the request from the "other" family to let a granddaughter visit for a couple of days -- took the opportunity to offer Ground Goop mixing to my 6-year-old granddaughter.  Knowing that her older cousins had done the same was probably enough to raise sufficient interest.

So, with the usual recipe of vermiculite, celluclay, paint, and white glue, we started mixing up a batch.

Spent a few minutes taping the track near the site of ground goop addition, but couldn't take the time to photograph.  Had hoped to cover the area right at the  "front" side of the layout, around the station, and between the outer and inner loops from the middle of the layout around the station corner.

Had some concern that the station on the layout might have been too extravagant for Rock Hill, SC, but turns out the actual station was pretty significant:

So, decided to leave the extended platform.  Marked off the location of the station and platform so we wouldn't cover with ground goop.

Now everything was ready.  Got a good start before granddaughter lost interest -- covered everything we had taped off!


After granddaughter lost interest, finished around the station end and added some ground goop between the inner and outer loop all the way around the other end.

The color is a bit dark, but will be covered with ground cover, field grass, flocking, etc. Pretty good progress for a 6-year-old.
Replaced the station and platform before the goop dried completely.  No problem.
Well, actually, there were several spots on the floor and side of layout that received some brown paint.  Sooner or later maybe we'll paint the sides. . . .

Thursday, August 16, 2018

Farm Pond VIII -- Finished?

Totally gave up on grandkid help -- there's still more to do on the layout for them -- and maybe finished up the farm pond.

Sprayed some strong hold hair spray on polyfiber, small bushes, and such and dusted with earth tone ground foam to try to get rid of some of the springtime green -- it's September, after all.

While that was drying, added more wire to the fence posts.  Used the 6X fly fishing tippet but did the whole perimeter at one time. . . what was left.  Actually used a cinch knot on the far fence post and ran the line all the way to the third corner. 

Kept some tension on the line with the tippet spool and glued at each post with white glue. 


Doing one of three lines at a time left opportunity to try to make a gate.  Must have used 30 thou plastic rod because it converted to about 2.5 inches, scale.  Used a bit larger plastic rod for one side -- the hinge side.  Glued with CA, but it wasn't easy.  Painted with Testor's rust color paint.

Added some field grass combined with sisal for broomstraw, stuck down some of the polyfiber and bushes here and there.  Had spread a little parsley flakes on one polyfiber to add a little more dimension.  Glued the gate on.  Added the boys fishing back, placed a horse, stuck the farmer next to a truck just emptied of cotton to be ginned.  A few other pieces including a rather large tree.

That might be enough.  Once the white glue dries, we can check it out to see if anything more needs to be done.  After a little vacuuming, it looks OK!


Monday, August 13, 2018

Table Skirt Diversion

OK, there was an article somewhere that I ran into recently showing a guy who had installed a "skirt" around his layout by using clothespins or maybe Velcro and cloth to allow him to cover the mess under the layout, but get behind the skirt or even remove it easily.  It looked like installation would be easy, too.

So, out came the clothespins and a 1/4" drill bit.  Drilled a 1/4" hole in one side of that clothespin "handle" and a smaller hole across in the other handle.  Used 3/4" wood screws to attach clothespins about every two feet or so -- four pins on the 6-foot sides and three on the 4-foot sides.  Most difficult job was screwing on the pins from the "backside" of the layout frame.

Decided to use burlap cloth since it would seem to go well with the workshop decorating theme!  Had to order online. . . .  It came in 40" width, so just folded over 4-6 inches at the top so the skirt would just touch the floor.  Cut the burlap in lengths a little longer than the sides to round the corners and be easy to remove sections, if needed.  Not too tough to screw on clothespins, even easier to hang up burlap.

Before:

After:


Thursday, August 9, 2018

Farm Pond VII -- Adding Some Dry Land Plantings

From a commercially prepared group of about six small trees, one was chosen and wrapped with brown florist tape.  The brown contrasts a little with the gray wire (and most bark is not nearly so much brown as gray), but the tree seems to look better to me!

While "ground goop" looks pretty good as it is, adding a little fine turf that's a mix of greenish brown colors seems to make the scene look a little more realistic.
This is adhered to the surface with half and half white glue and water spread with a paint brush.  Likewise, some homemade ground covering (from blending dried leaves and twigs) was added.  The intent is for the "pasture" to be a bit more grassy and the surrounds a bit more weedy when it's all over.  Also laid down some medium and fine gray ballast for the drive leading away from the cotton gin.  Medium may be a little too coarse; need to check after it all dries.

Florist tape wrapped tree looks pretty good on the other side of the pond.  Of course, its size seems to be challenged by the cattails!!

Waiting for scenery to dry is a bummer, but after an overnight spell it was time to try to add some taller grass.  The plan is to have some "pasture" grass inside the fence and something more resembling weeks outside and around the cotton field. . . and maybe a little near the railroad siding.  The pasture grass will be 1.5 mm yellow(-ish) grass from SceneMaster and the weeds will be 2.0 mm winter mix from Peco.  Maybe the homemade static grass applicator will make some of the flocking stand up.


The pasture grass looks a little "hairy", so that's good.  Got some on the pond that will have to be removed in due time.  Since the ground covering mix applied the day did not all stick, a shot or two of strong hold hair spray was applied.  Problem is, some got on the top of the pond!  A little water on a paper towel removed much of the hairspray.  Maybe the flocking on the pond can be removed with a small vacuum cleaner.

The color difference in the two flockings is more evident than the length of the "blades", but some added weeds and broomstraw will help define the different areas.  Some bushes will be inserted near the rails, also, but not until the wire has been installed. . . maybe.

Since half and half water/glue was applied with a syringe for the static grass, it's another overnight drying needed.

Monday, August 6, 2018

Farm Pond VI -- PHD (Post Hole Digging)

Moving right along, next step for the farm pond seemed to be putting in the fence posts.  Used the "design" drawing to help locate the post holes through the paper -- after cutting out a hole for the pond so the cattails didn't get messed up!?!  Used the scratch awl, which is much easier than a post hole digger.

When the "far side" was fenced in, several fence posts were left on purpose for the farm pond.  After adjusting the height by cutting off about 3/16", used white glue to hold the posts in place.


Even installed a few angled posts at the corners.  Still need a gate for the tall posts near the stall!

Sunday, August 5, 2018

Farm Pond V -- Lily Pads and Cattails, Ducks and Geese

The project gets bigger and bigger!

Wrapped up the cattails and installed them.

Figured I would need to drill holes in the "water" to get them to stand up.  Chose three different size bits to do it.  More later.

Saw a YouTube video about mixing green and yellow paint on a sheet of white paper to get some variability in the color of lily pads.  Seemed like a good idea, but if green paper is used to begin with, the white edges won't show.  After the earlier try with lily pads, decided to only use two size hole punches and cut "V's" only in the larger size.  Used white glue dabbed down with a toothpick and then picked the pads up with a pin/needle to transfer to the pond.

Also decided to move the ducks and geese away from the "shallow" end where the horse might come to drink and the boys would be fishing.  Decided not to use the duck with just a tail end showing since after a few minutes he would drown!  But to add a bit more color, amputated the legs from another non-white duck just to add some color.  He looks like he's leaning over to get an insect form a lily pad.  Used a tacky glue of sorts since it suggested re-positioning would be possible.


Now, back to the cattails.  The "water" drilled pretty easily but generated a significant amount of filings:
And here are the cattails installed.  No matter how much effort to keep the scale in mind, looks like the cattails are a bit tall!  But they do look pretty natural and not as "cookie cutter" as the commercial variety!  Note the yellow lily pad flowers; pretty good from a distance!?!?!?

Saturday, August 4, 2018

Farm Pond IV -- "Water" in the Pond

So, summer got away from us without getting granddaughters (or grandsons) to stay long enough to work on the railroad.  Did have a visit from a younger set of grandchildren who showed interest in the layout.

Decided to go ahead with water in pond, but not before starting to work on cattails and lily pads.

Used Woodland Scenics field grass for cattail stalks and tried acrylic paint, brown, to add cattail seed pod.  That didn't thicken things up enough, so went to white glue.  That had a tendency to form spherical beads.  Finally, went to Scenic Cement which is a bit thicker.  That sort of worked.  Then painted with brown acrylic paint.


Seed pods are looking OK, but decided more reeds were needed.  Tried a combination of sisal fibers from a rope, more light green field grass, and some harvest gold field grass.  Tried white glue to stick all of this together with one stalk of seed pod per bunch.


Will probably need to drill holes in "water" to plant. . . .

Also tried for the lily pads by punching 1/4", 3/16", and 1/8" holes in three shades of green paper. For the two larger sizes, also cut "V's" along the edge in one spot.  Usable results, I suppose.

In between all of this, the murky water, two-part epoxy was mixed and poured.  Stirring for 5 minutes, let sit for 5 minutes, and then stirring again for 5 minutes -- sort of a weary process.


Didn't take a lot of "water" to "fill" the pond.  A little disappointed that it's not more murky; also that it was hard to tell when painting the bottom what the depth was from one end to the other!  Recommended covering and curing for 24 hours.  Did not "wet" the shore too well, but a little grass and other foliage will probably help.


Lily pads, ducks/geese and fishermen placed, but not glued, yet.  Tried to add a yellow flower or two from other landscaping scenery, but didn't have a lot of luck at that.  Have also seen another approach to lily pads using white paper painted with a couple of shades of green and some yellow.  That gives some good variability as the colors are mixed on the paper.  Also, 1/4" is too big!!  These at the two smaller sizes.

Stay tuned for Farm Pond V when cattails are installed.