Moving right along, next step for the farm pond seemed to be putting in the fence posts. Used the "design" drawing to help locate the post holes through the paper -- after cutting out a hole for the pond so the cattails didn't get messed up!?! Used the scratch awl, which is much easier than a post hole digger.
When the "far side" was fenced in, several fence posts were left on purpose for the farm pond. After adjusting the height by cutting off about 3/16", used white glue to hold the posts in place.
Even installed a few angled posts at the corners. Still need a gate for the tall posts near the stall!
Monday, August 6, 2018
Sunday, August 5, 2018
Farm Pond V -- Lily Pads and Cattails, Ducks and Geese
The project gets bigger and bigger!
Wrapped up the cattails and installed them.
Figured I would need to drill holes in the "water" to get them to stand up. Chose three different size bits to do it. More later.
Saw a YouTube video about mixing green and yellow paint on a sheet of white paper to get some variability in the color of lily pads. Seemed like a good idea, but if green paper is used to begin with, the white edges won't show. After the earlier try with lily pads, decided to only use two size hole punches and cut "V's" only in the larger size. Used white glue dabbed down with a toothpick and then picked the pads up with a pin/needle to transfer to the pond.
Also decided to move the ducks and geese away from the "shallow" end where the horse might come to drink and the boys would be fishing. Decided not to use the duck with just a tail end showing since after a few minutes he would drown! But to add a bit more color, amputated the legs from another non-white duck just to add some color. He looks like he's leaning over to get an insect form a lily pad. Used a tacky glue of sorts since it suggested re-positioning would be possible.
Now, back to the cattails. The "water" drilled pretty easily but generated a significant amount of filings:
And here are the cattails installed. No matter how much effort to keep the scale in mind, looks like the cattails are a bit tall! But they do look pretty natural and not as "cookie cutter" as the commercial variety! Note the yellow lily pad flowers; pretty good from a distance!?!?!?
Wrapped up the cattails and installed them.
Figured I would need to drill holes in the "water" to get them to stand up. Chose three different size bits to do it. More later.
Saw a YouTube video about mixing green and yellow paint on a sheet of white paper to get some variability in the color of lily pads. Seemed like a good idea, but if green paper is used to begin with, the white edges won't show. After the earlier try with lily pads, decided to only use two size hole punches and cut "V's" only in the larger size. Used white glue dabbed down with a toothpick and then picked the pads up with a pin/needle to transfer to the pond.
Also decided to move the ducks and geese away from the "shallow" end where the horse might come to drink and the boys would be fishing. Decided not to use the duck with just a tail end showing since after a few minutes he would drown! But to add a bit more color, amputated the legs from another non-white duck just to add some color. He looks like he's leaning over to get an insect form a lily pad. Used a tacky glue of sorts since it suggested re-positioning would be possible.
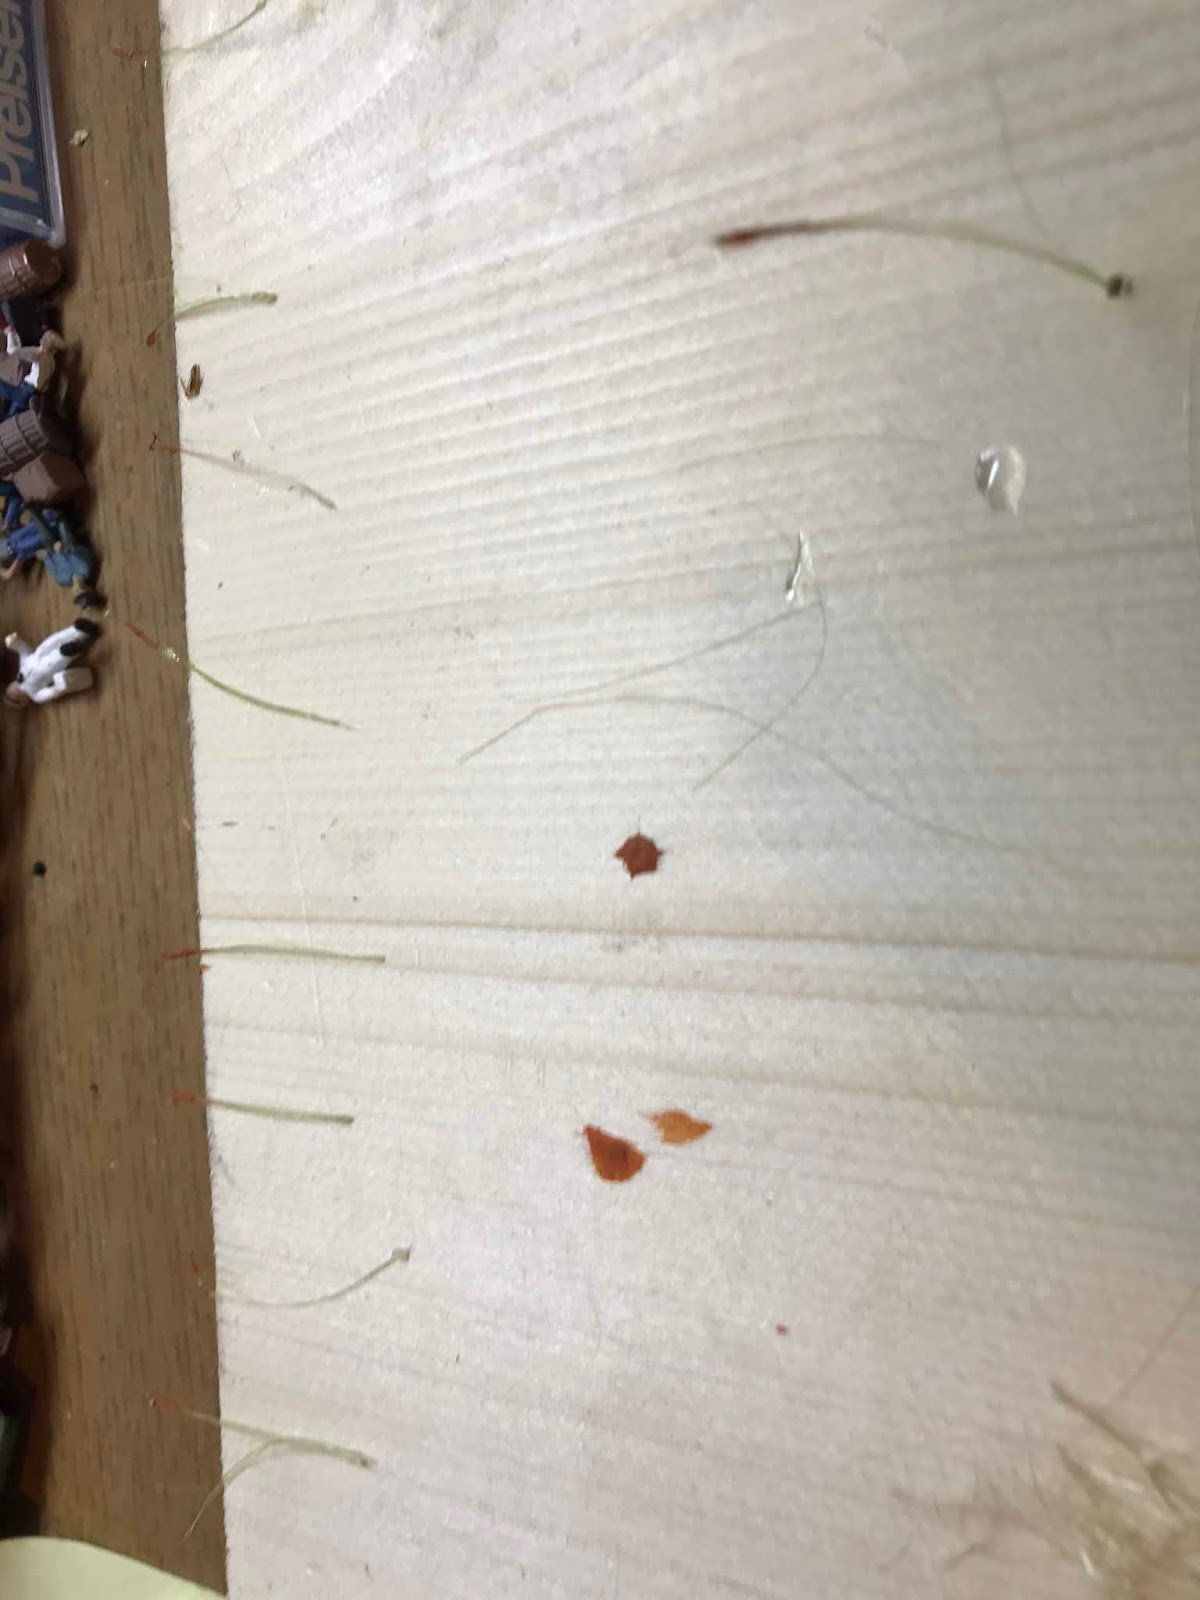
Now, back to the cattails. The "water" drilled pretty easily but generated a significant amount of filings:
And here are the cattails installed. No matter how much effort to keep the scale in mind, looks like the cattails are a bit tall! But they do look pretty natural and not as "cookie cutter" as the commercial variety! Note the yellow lily pad flowers; pretty good from a distance!?!?!?
Saturday, August 4, 2018
Farm Pond IV -- "Water" in the Pond
So, summer got away from us without getting granddaughters (or grandsons) to stay long enough to work on the railroad. Did have a visit from a younger set of grandchildren who showed interest in the layout.
Decided to go ahead with water in pond, but not before starting to work on cattails and lily pads.
Used Woodland Scenics field grass for cattail stalks and tried acrylic paint, brown, to add cattail seed pod. That didn't thicken things up enough, so went to white glue. That had a tendency to form spherical beads. Finally, went to Scenic Cement which is a bit thicker. That sort of worked. Then painted with brown acrylic paint.
In between all of this, the murky water, two-part epoxy was mixed and poured. Stirring for 5 minutes, let sit for 5 minutes, and then stirring again for 5 minutes -- sort of a weary process.
Stay tuned for Farm Pond V when cattails are installed.
Decided to go ahead with water in pond, but not before starting to work on cattails and lily pads.
Used Woodland Scenics field grass for cattail stalks and tried acrylic paint, brown, to add cattail seed pod. That didn't thicken things up enough, so went to white glue. That had a tendency to form spherical beads. Finally, went to Scenic Cement which is a bit thicker. That sort of worked. Then painted with brown acrylic paint.
Seed pods are looking OK, but decided more reeds were needed. Tried a combination of sisal fibers from a rope, more light green field grass, and some harvest gold field grass. Tried white glue to stick all of this together with one stalk of seed pod per bunch.
Will probably need to drill holes in "water" to plant. . . .
Also tried for the lily pads by punching 1/4", 3/16", and 1/8" holes in three shades of green paper. For the two larger sizes, also cut "V's" along the edge in one spot. Usable results, I suppose.
Didn't take a lot of "water" to "fill" the pond. A little disappointed that it's not more murky; also that it was hard to tell when painting the bottom what the depth was from one end to the other! Recommended covering and curing for 24 hours. Did not "wet" the shore too well, but a little grass and other foliage will probably help.
Lily pads, ducks/geese and fishermen placed, but not glued, yet. Tried to add a yellow flower or two from other landscaping scenery, but didn't have a lot of luck at that. Have also seen another approach to lily pads using white paper painted with a couple of shades of green and some yellow. That gives some good variability as the colors are mixed on the paper. Also, 1/4" is too big!! These at the two smaller sizes.
Saturday, April 7, 2018
Current Keeper for Southern F3A
Seems the Southern F3A locomotive just cannot handle a dirty track while the little SW1 switcher does OK -- with its capacitor. So, how to install a Soundtraxx Current Keeper? Here's a shot at it [Note: 4/10/18 update, speaker works, Current Keeper not so much; E-mail into Soundtraxx support]:
First, the larger speaker in the F3 needs to be removed to make room for the rather bulky capacitors.
With another "Sugar Cube" speaker in my spare parts, that would seem to help the situation. First must glue the speaker to the "sound box" with CA glue. Supplier video recommended using double stick tape to hold the box in place as the speaker was attached. No double stick tape, but some Scotch mounting tape was handy. Seemed to work OK. This speaker might be the 8X12 mm size; same as in SW1 switcher, so this could help to give comparable volume from both locos.
Had to check online for attaching the Current Keeper to a Soundtraxx Tsunami GN-1000 decoder. The instructions that were included with the Current Keeper did not include this decoder. Ain't the Internet wonderful?!
To keep doing this sort of work, a more "precision" soldering iron will be needed. But, I gunked up the small speaker and the Current Keeper.
Plenty of room for Current Keeper and small speaker with larger speaker removed. Used more Scotch mounting tape for the Current Keeper.
No way to test at this time as we're out of town visiting relatives, but fingers are crossed.
Next job to complete installation is to find the front coupler and box -- who knows where that might be?
First, the larger speaker in the F3 needs to be removed to make room for the rather bulky capacitors.
With another "Sugar Cube" speaker in my spare parts, that would seem to help the situation. First must glue the speaker to the "sound box" with CA glue. Supplier video recommended using double stick tape to hold the box in place as the speaker was attached. No double stick tape, but some Scotch mounting tape was handy. Seemed to work OK. This speaker might be the 8X12 mm size; same as in SW1 switcher, so this could help to give comparable volume from both locos.
Had to check online for attaching the Current Keeper to a Soundtraxx Tsunami GN-1000 decoder. The instructions that were included with the Current Keeper did not include this decoder. Ain't the Internet wonderful?!
To keep doing this sort of work, a more "precision" soldering iron will be needed. But, I gunked up the small speaker and the Current Keeper.
Plenty of room for Current Keeper and small speaker with larger speaker removed. Used more Scotch mounting tape for the Current Keeper.
No way to test at this time as we're out of town visiting relatives, but fingers are crossed.
Next job to complete installation is to find the front coupler and box -- who knows where that might be?
Monday, March 26, 2018
Columbia Train Show
The New Brookland model train store in West Columbia/Cayce said they would have several tables at the Columbia, SC, train show last weekend. So, I decided to make the trip and check it out.
Not too disappointed, except that the only Bay Line piece I could find was a badge, and the couple of guys I asked about DCC-- Keep Alive didn't have much to offer. Still, along with the badge, I picked up a 1950 Rocket 88 Oldsmobile and a few trees.
The Oldsmobile may need to be "aged" a bit since it would be six years old. Maybe we can claim that it belongs to the Shift Supervisor at the Cotton Mill:
Don't know exactly where to put the three trees, yet. I was pleased with their realism, but not quite as much as the manufacturer!
Besides, I think WE have made trees a little better than this, but they are much easier to purchase than to make.
Maybe they need to go near the Mill Village; I'll have to check with the Grands.
Since I couldn't find a DCC expert, I decided to go back through my store of loose parts. I thought I had another sugar cube speaker which might give me room for a Keep Alive capacitor. When I opened the "spare parts" box I found the small speaker AND a capacitor AND a Tsunami AT1000 decoder. I couldn't tell what the sound chip was good for, so contacted Soundtraxx. The model was coded on the sound chip! Turns out to be an EMD 567 which works for both Southern locomotives that I have, but not for the SCL GP35 -- it has an EMD 567D turbo. Not sure if anyone would realize it if I did use it in the GP35. But first, I'll try to add the smaller speaker and capacitor to the F3 so it doesn't hesitate on the dirty track so much.
Not too disappointed, except that the only Bay Line piece I could find was a badge, and the couple of guys I asked about DCC-- Keep Alive didn't have much to offer. Still, along with the badge, I picked up a 1950 Rocket 88 Oldsmobile and a few trees.
The Oldsmobile may need to be "aged" a bit since it would be six years old. Maybe we can claim that it belongs to the Shift Supervisor at the Cotton Mill:
Don't know exactly where to put the three trees, yet. I was pleased with their realism, but not quite as much as the manufacturer!
Maybe they need to go near the Mill Village; I'll have to check with the Grands.
Since I couldn't find a DCC expert, I decided to go back through my store of loose parts. I thought I had another sugar cube speaker which might give me room for a Keep Alive capacitor. When I opened the "spare parts" box I found the small speaker AND a capacitor AND a Tsunami AT1000 decoder. I couldn't tell what the sound chip was good for, so contacted Soundtraxx. The model was coded on the sound chip! Turns out to be an EMD 567 which works for both Southern locomotives that I have, but not for the SCL GP35 -- it has an EMD 567D turbo. Not sure if anyone would realize it if I did use it in the GP35. But first, I'll try to add the smaller speaker and capacitor to the F3 so it doesn't hesitate on the dirty track so much.
Monday, March 19, 2018
Farm Pond III -- Painting the Depths
Slowly working with the farm pond making sure lots is left to the granddaughters when they show up.
Used a Dremel tool to sand down some of the pond bottom:

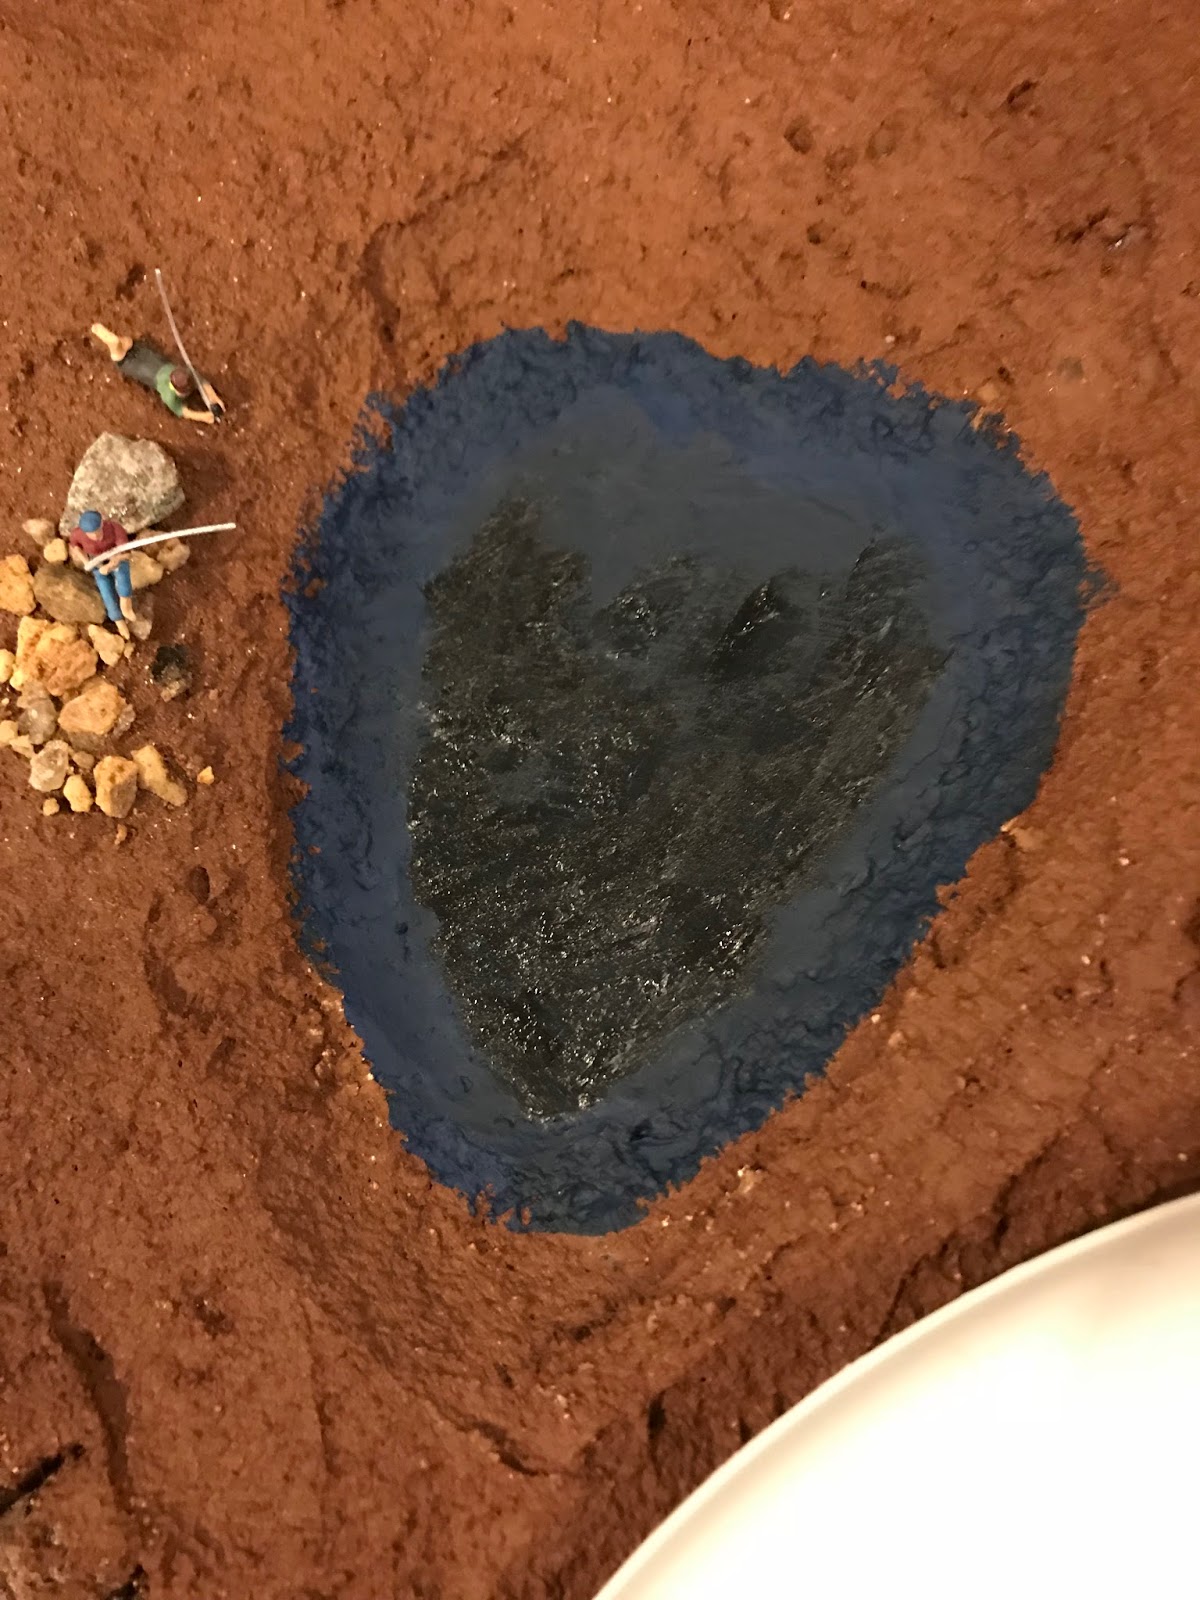
Then tried to give the look of water to the bottom although the epoxy "water" we'll use is called Murky Water. Started with Indigo Blue and then moved to Cerulean Blue for "shallower" water. Gee, this looks REALLY blue:
To tone down the blues a bit, added some black with a little bit of grey to the deepest part of the pond. After drying, the blues didn't look quite as eye-catching. Besides, the Murky Water will probably hide everything, anyway:
Used a Dremel tool to sand down some of the pond bottom:
Then tried to give the look of water to the bottom although the epoxy "water" we'll use is called Murky Water. Started with Indigo Blue and then moved to Cerulean Blue for "shallower" water. Gee, this looks REALLY blue:
Saturday, March 3, 2018
Backdrop Phase 1.A
Now where to go with backdrop, as a non-artist!?!
Some thoughts being developed using a sheet of Kraft paper to sketch. Maybe just use photos of buildings glued to backdrop with or without low-relief buildings (e. g., warehouse).
Maybe add a couple of cardstock buildings before completing "cityscape".
Or possibly, create a little 3D with partial buildings that then get painted into backdrop.
Will also start thinking about backdrop effects on left side -- maybe develop tobacco planting into larger field, run hedge and path up to farmhouse in meadow, have fenced in area include pasture and cattle, include distant but not mountainous treeline, . . . . Really do need an artist!
Some thoughts being developed using a sheet of Kraft paper to sketch. Maybe just use photos of buildings glued to backdrop with or without low-relief buildings (e. g., warehouse).
Maybe add a couple of cardstock buildings before completing "cityscape".
Or possibly, create a little 3D with partial buildings that then get painted into backdrop.
Will also start thinking about backdrop effects on left side -- maybe develop tobacco planting into larger field, run hedge and path up to farmhouse in meadow, have fenced in area include pasture and cattle, include distant but not mountainous treeline, . . . . Really do need an artist!
Subscribe to:
Posts (Atom)